If you've sealed your pavers in the past and are starting to see some reduction in performance, then you might be hoping to reseal. Before deciding to reseal, make sure you thoroughly pressure clean your surface. (We recommend using pressure washing at 3200 PSI or more.) The build-up of pollen, dirt, dust and other contaminants can reduce the effectiveness and beauty of your sealer. Often a good pressure wash of the surface will remove contaminants from your sealer, which restores the beauty and performance you love and let's you put off resealing until next season.
After you have pressure washed the surface, if you feel the surface is just not what it used to be, it may be the right time to reseal. Before you purchase DOMINATOR sealers for your resealing project, take look at the 4 tests below to make sure your new sealer will provide optimal performance on top of the previous sealer.
1. Is a DOMINATOR Sealer already on your pavers?
If your answer is YES, then you're all set! Choose your favorite DOMINATOR sealer and apply one coat to bring your pavers back to life.
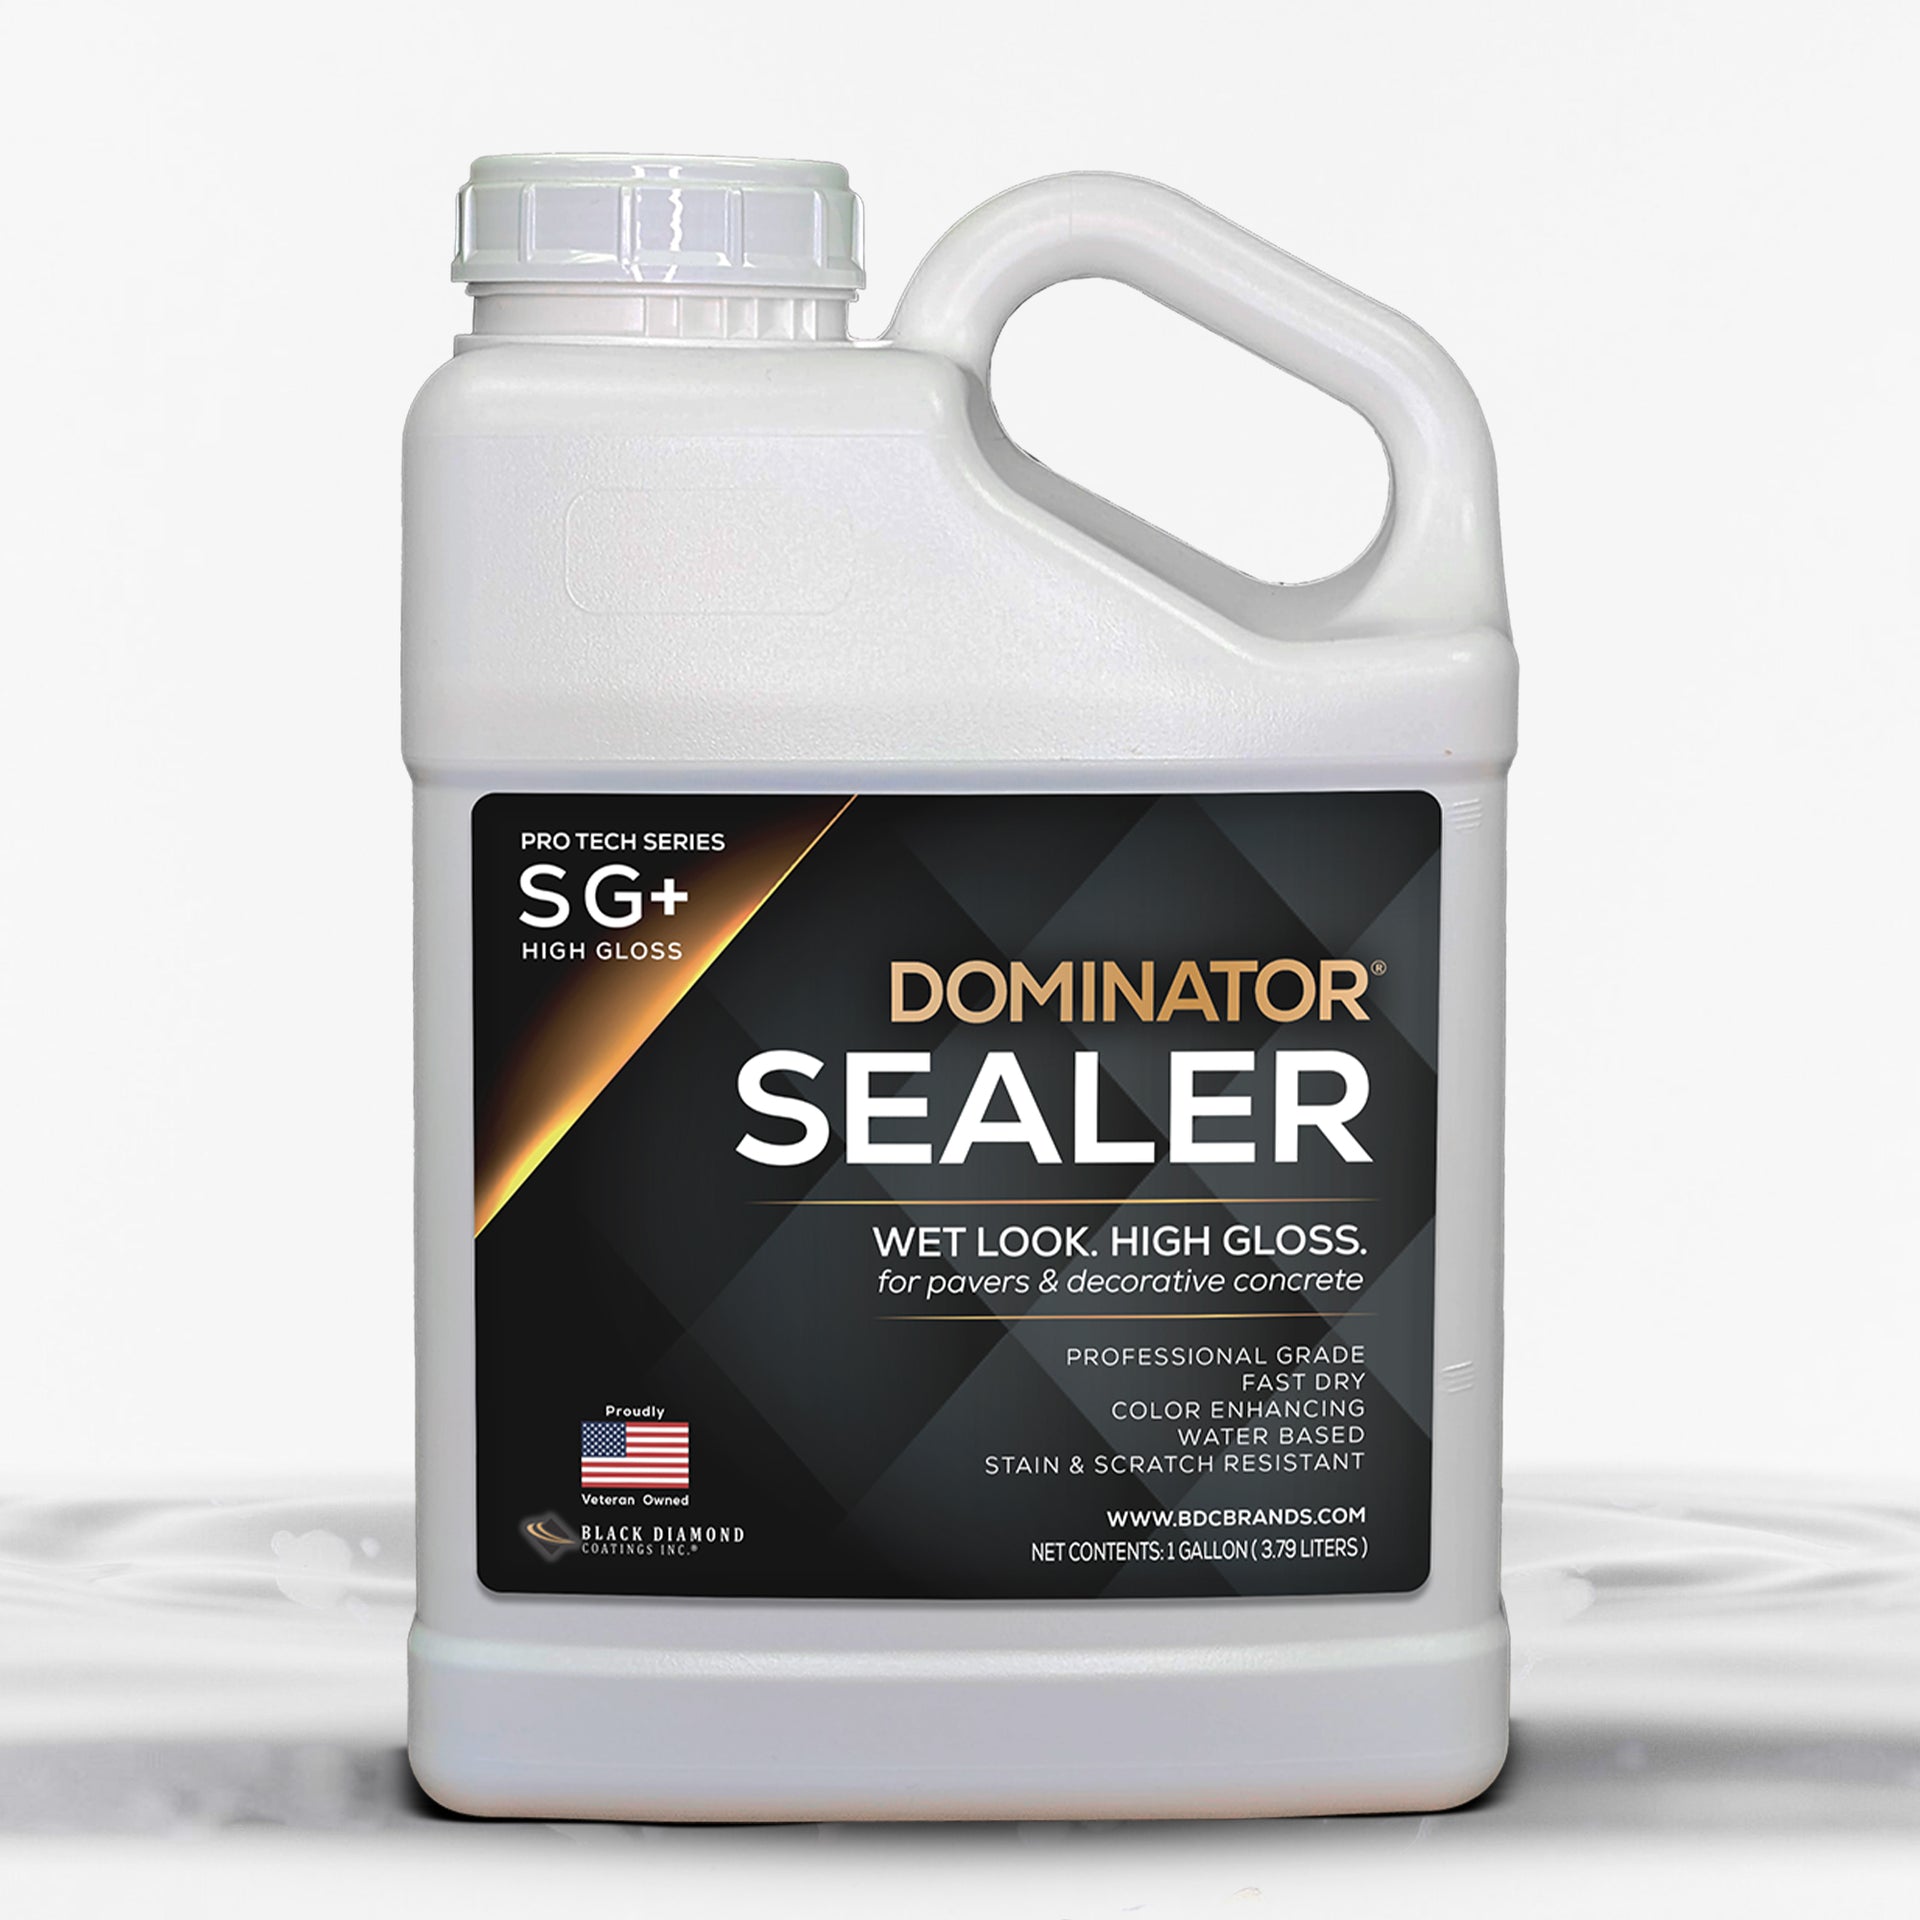
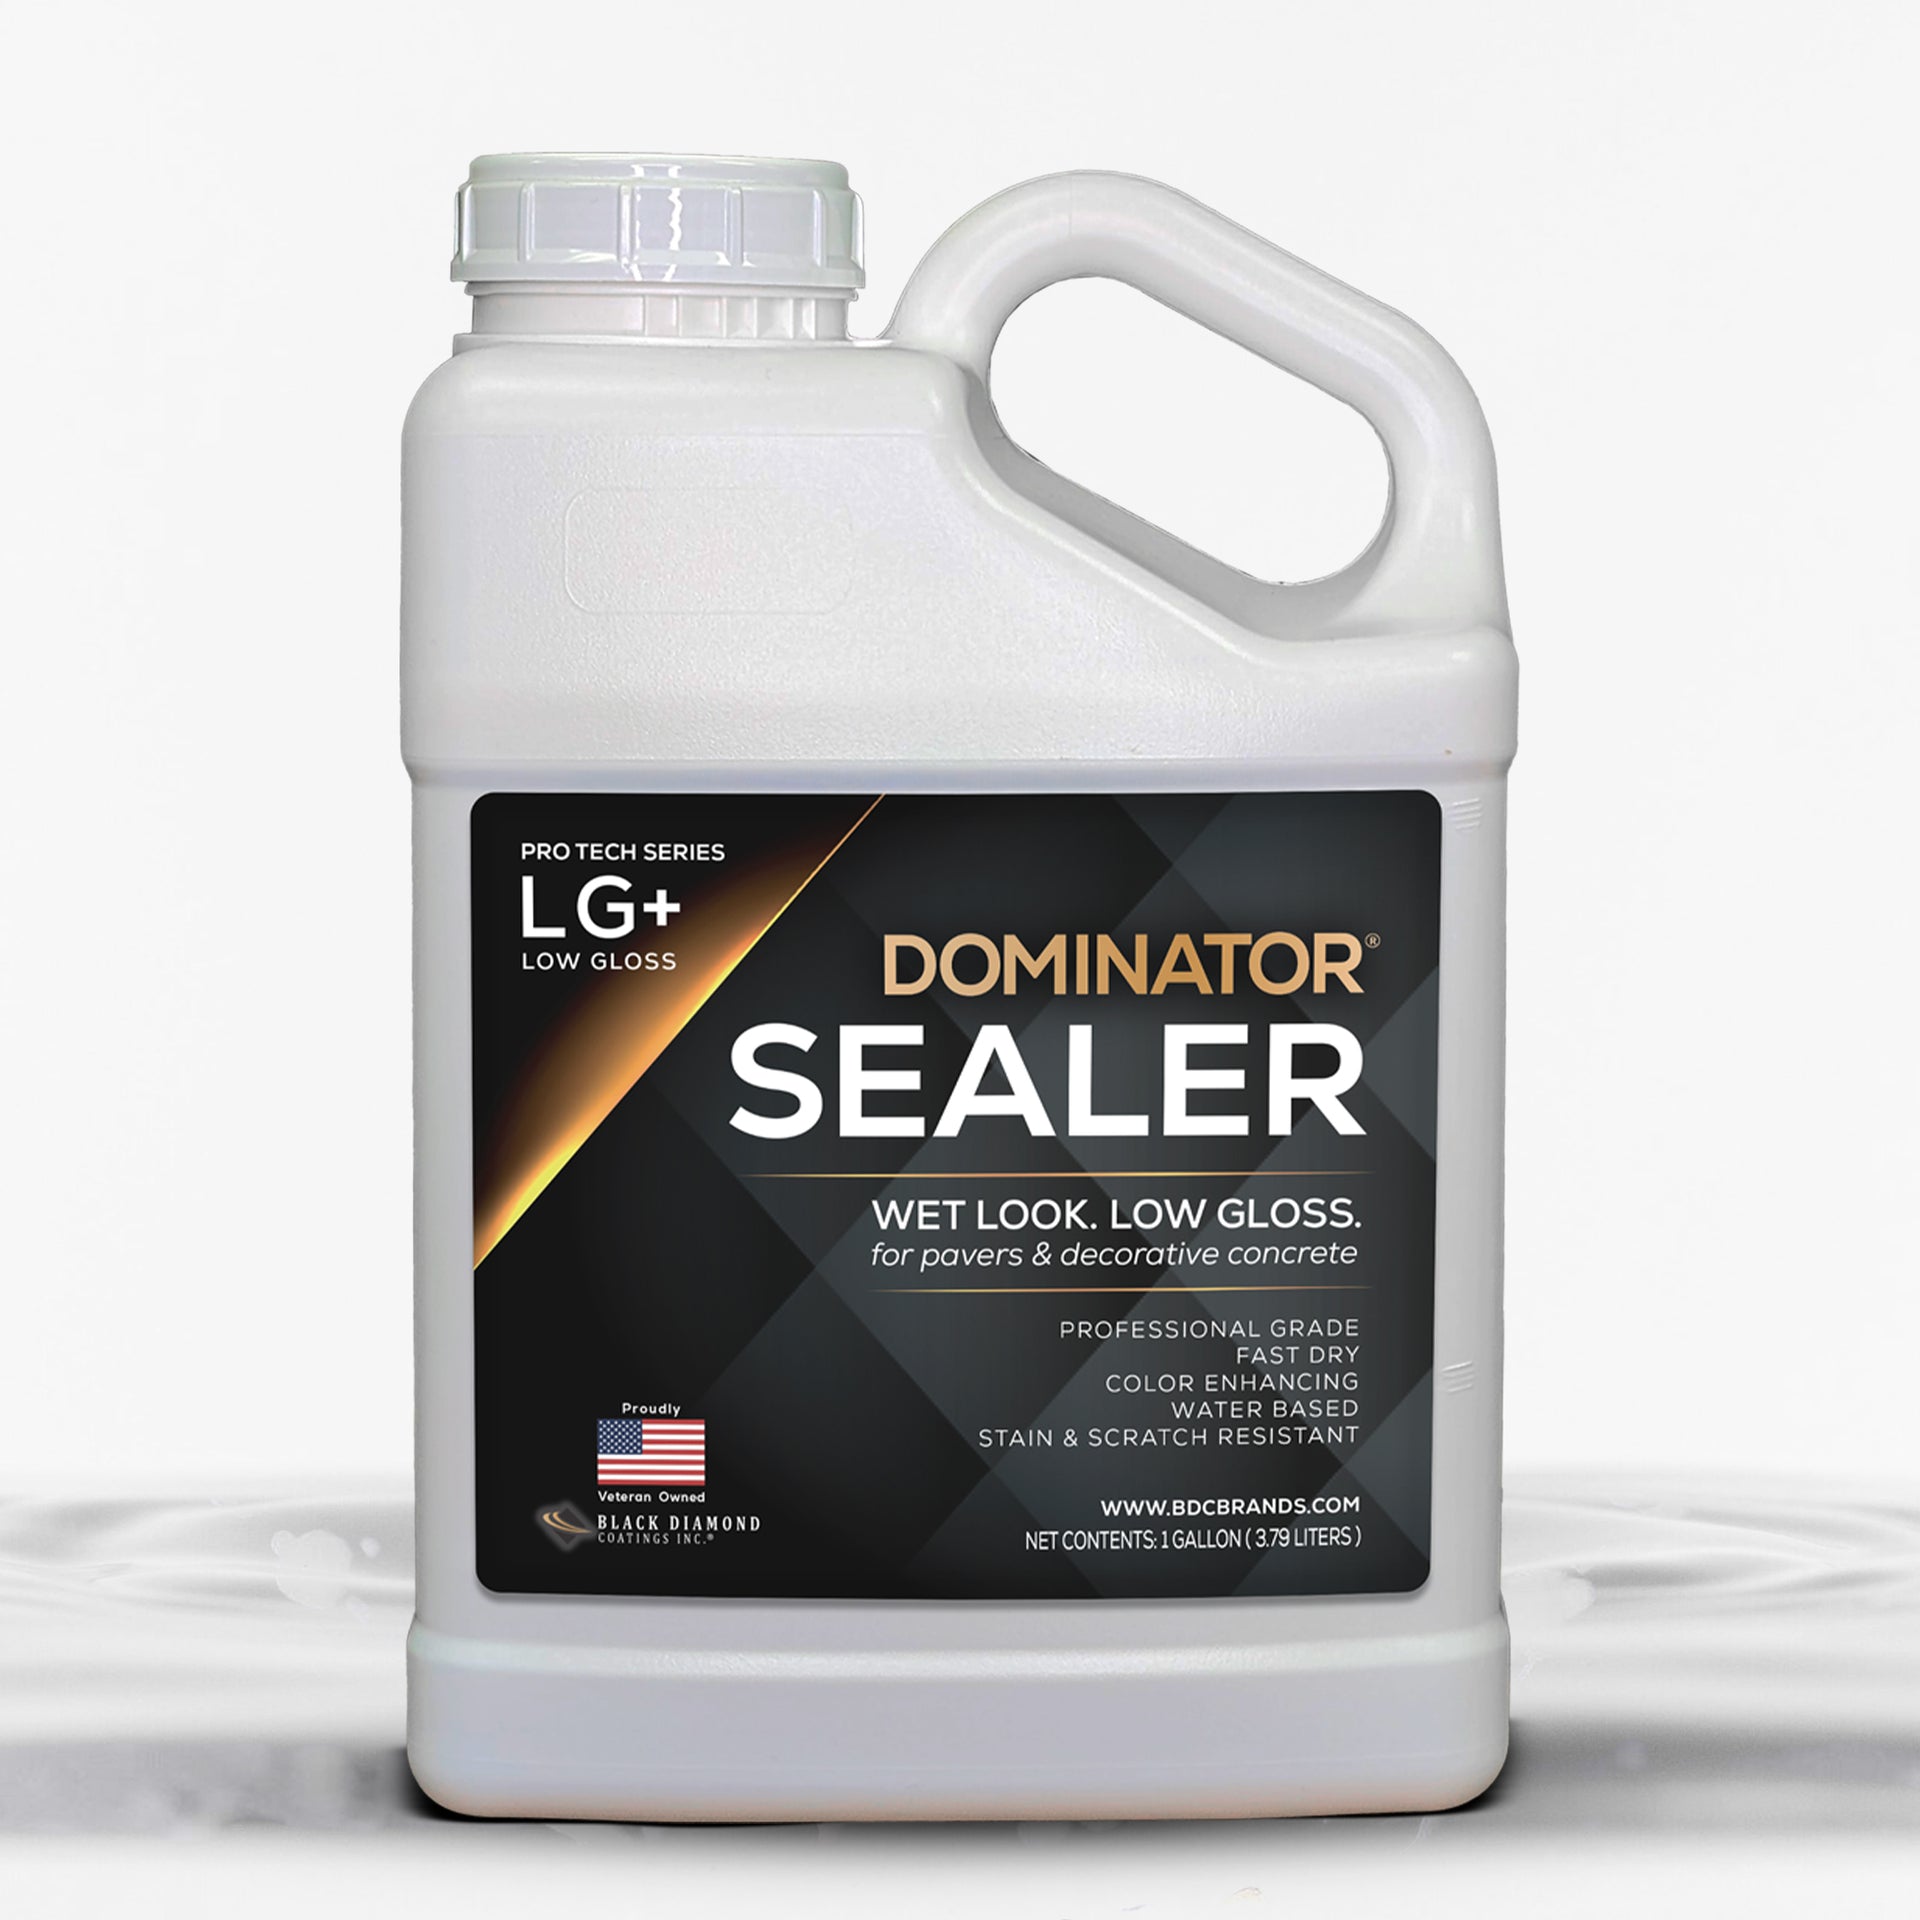
All of the DOMINATOR sealers — SG+, LG+, NG+, STONE+ GLOSS and STONE+ MATTE — can be used on top of a previous application of any other DOMINATOR sealer. Simply power wash and allow to thoroughly dry (as you would for any sealer application), and you're good to go.
If your answer is NO or you are not sure, move on to step two.
PRO TIP: As always before you seal OR reseal, check for efflorescence on your pavers. Not sure what that is? Learn more here!
2. Is the previous sealer aging gracefully?
Many sealers age gracefully, simply losing their water repellent abilities and color enhancing qualities slowly over time and with wear. If this is true for your pavers, then skip on forward to #3 and #4!
However, some sealers show their age more dramatically:
- Cracking
- Peeling
- Bubbling
- Flaking
- Hazing
If your current sealer is showing these types of visible signs of lifting from your pavers, then you will need to remove the existing sealant from your pavers before re-sealing. This applies whether you plan to use DOMINATOR sealers or any other brand. Think of it this way: new sealer applied to a pealing surface of old sealant will bond to the pealing sealant and NOT the pavers. You wouldn't paint over already cracked paint and expect good results, right? Save yourself time and money by stripping the problem sealer off; a new coat of sealer will only make the issue worse.
If a sealer (other than DOMINATOR) is clearly present on the surface and does not appear to have any of the issues mentioned above, proceed to test #3.
3. Porosity Test
Now it's time to check whether the current sealer barrier is still present. Drip a small amount of water — via a tablespoon, water dropper, or similar — onto the surface of your paver. Does the water absorb quickly or does it pool on the surface? If the water absorbed, then move on to test #4!
If water pooled or beaded on the surface of the paver without absorbing, that means your current sealer is still creating a water repellent barrier. If you were to apply new sealer on top, the new sealer would simply bond to the existing sealant and NOT to your pavers. OR the new sealer may not bond at all to the existing sealer if they are incompatible. In order to get color enhancement, the sealer must be able to absorb into your surface.
4. Adhesion Test
If your current sealer is aging gracefully and a porosity test reveals that water is getting through to your pavers, it is time to conduct a small test that will help you determine whether a new application of sealer will adhere (or bond) strongly to your pavers, or if it would instead lift off with the old sealer over time. In order to be sure you get your money's worth on a new application of paver sealer, we STRONGLY recommend that you conduct this adhesion tape test (adapted from ASTM D 3359-02) before applying DOMINATOR on pavers previously sealed with a different product.
- Purchase a Sample Size of the DOMINATOR sealer you'd like to use.
- Find an inconspicuous area of your pavers. After making sure it is dry and clean, apply sealer to a small square (about 5 inches).
- Let dry 4 hours
- Score an X over the test area with a razor blade or exacto knife. Each cut should be about 1.5" long, and your smaller angle should be about 30-45 degrees. Be sure your incision cuts through the coating to your pavers. Important: If your cut didn't go all the way through, DO NOT try to deepen the cut; instead make a new X.
- Cut a 3 inch piece of duct tape.
- Place the center of the tape at the center of your X, with the tape running the same direction as the smaller angles.
- Smooth the tape in place by hand, then rub firmly with the eraser on the end of a pencil, making sure you're covering the area of the incisions.
- After 30-90 seconds, remove the tape using a rapid movement, pulling the tape back over itself (without jerking) as close to a 180 degree angle as possible.
- Inspect the X area for any removal of the test sealer or previous sealer from the paver. Look for:
- no peeling or removal from incision area or the center of the X
- no jagged removal along the incision
- no removal beyond the incision area (anywhere under the tape)
If you complete this test without any peeling or removal of the sealer, then you can re-seal your entire project area with DOMINATOR sealers without worries. However, if there was even a trace amount of sealer removed with the duct tape, we recommend completely stripping the previous sealer before re-sealing with DOMINATOR sealers.


