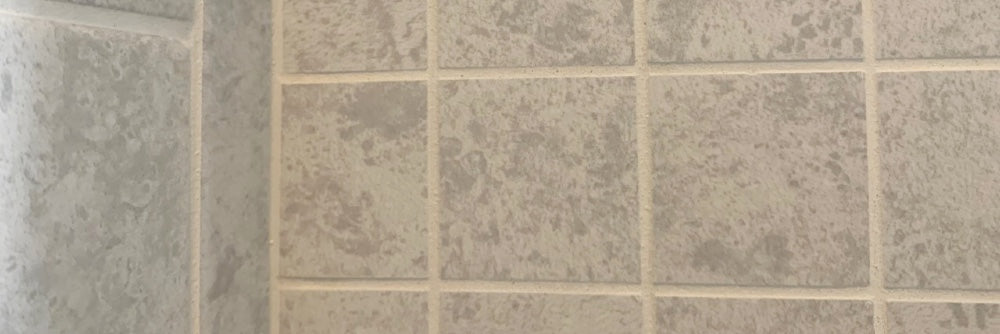
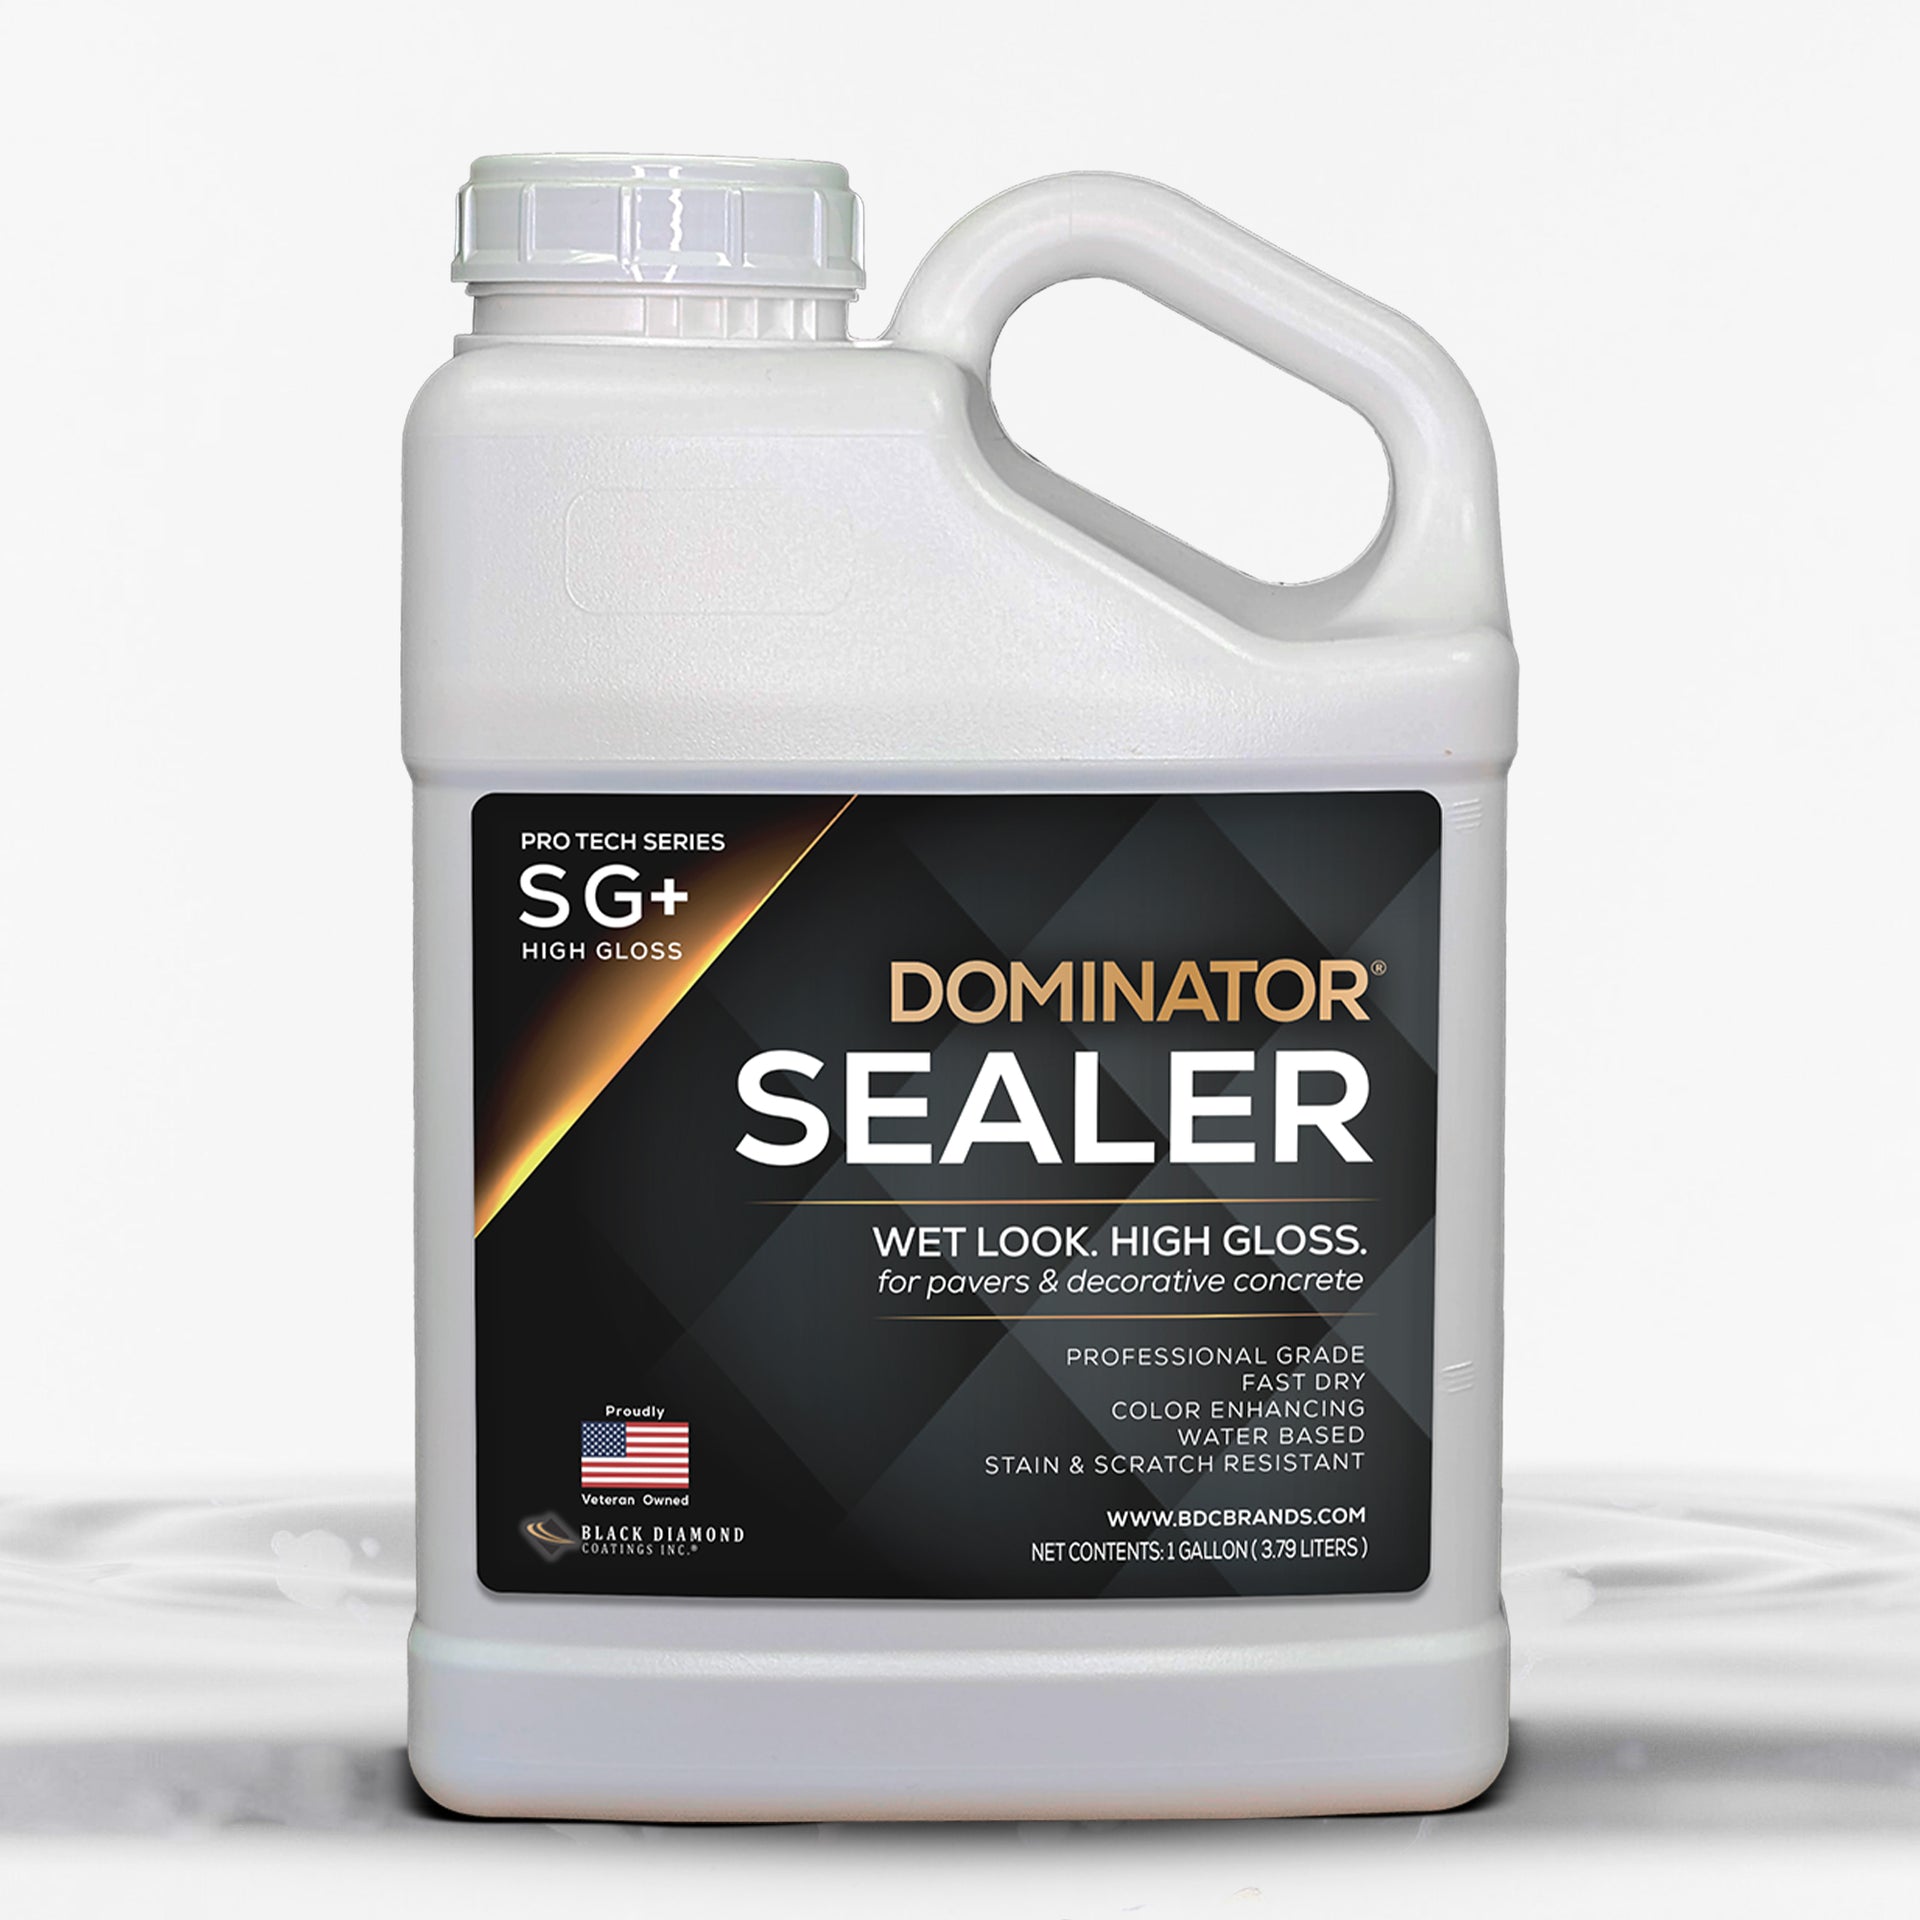
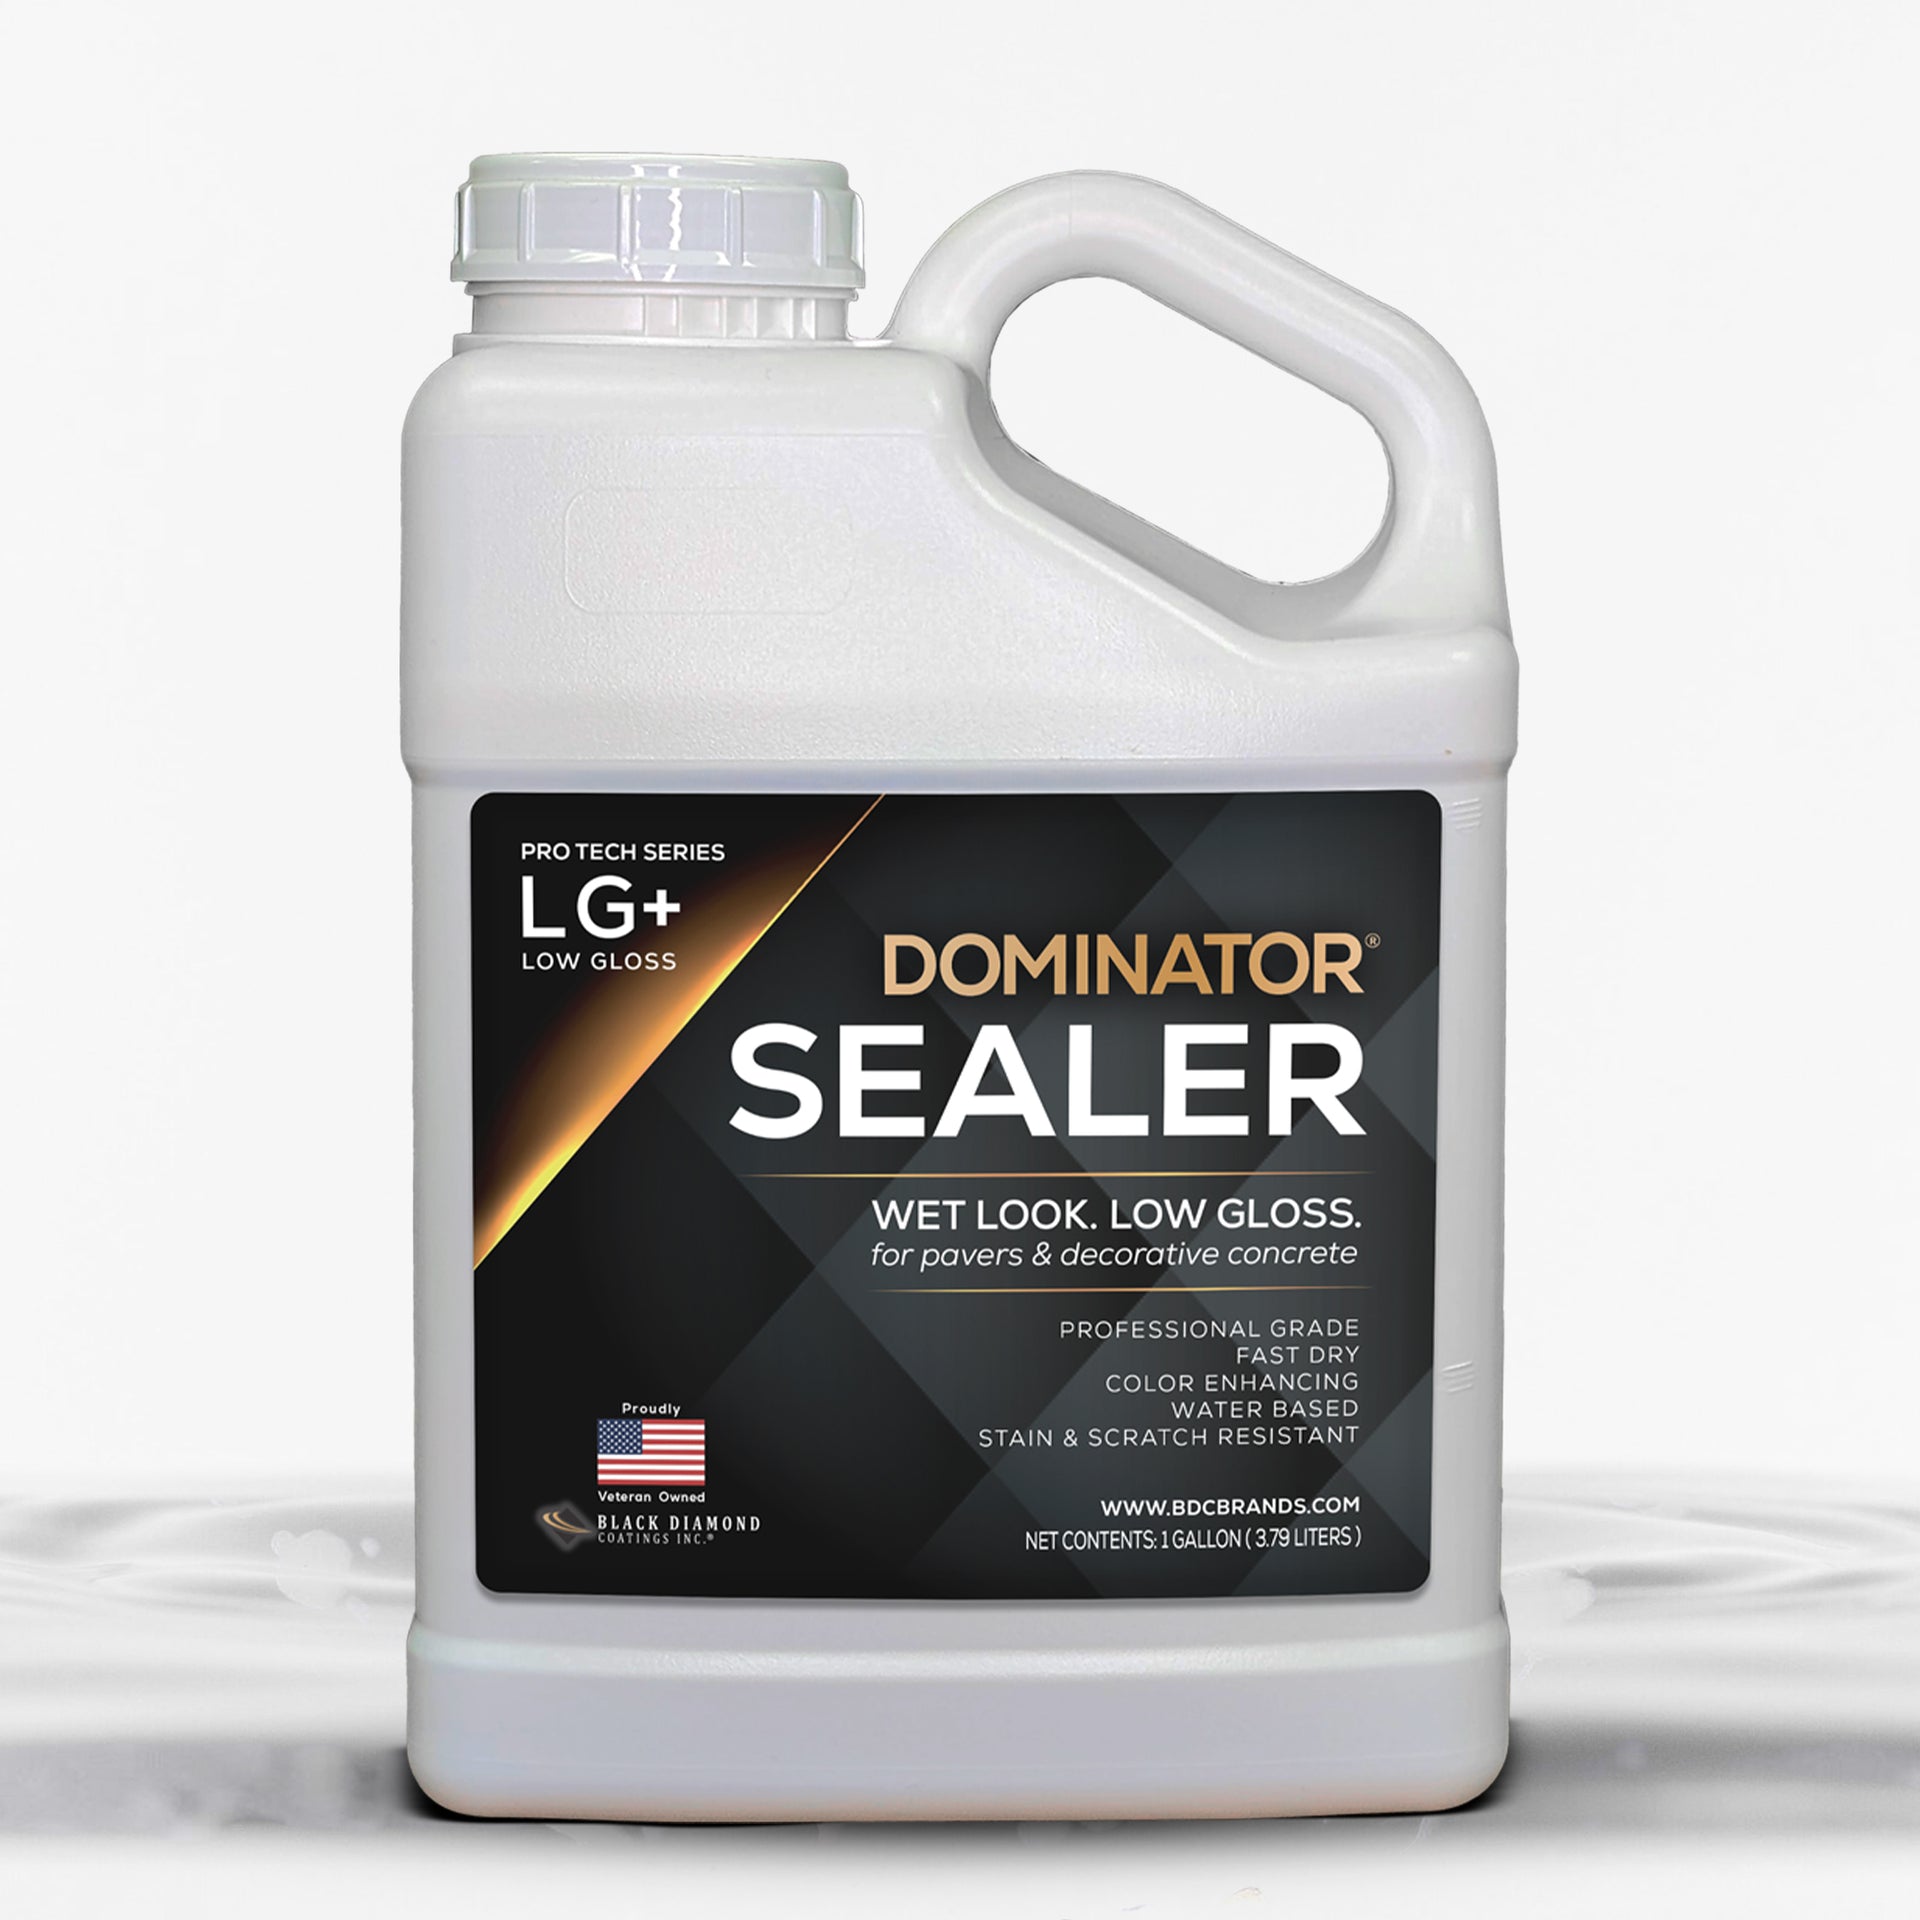
Whether you’ve just completed a brand new bathroom reno or you spent your weekend scrubbing and cleaning your patio tile grout, it’s important to know how to seal grout to help prevent stains by creating a moisture barrier, saving you time and energy in the long-run.
Why Seal Your Grout?
Grout sealer has really become an essential step in any tiling project - both indoor and outdoor. After you’ve spent time and money on your backsplash, shower, kitchen counter, or tile floor, it is inevitable that water or other liquids (like coffee or wine) will splash on the surface and soak into the porous grout causing stains and promoting the growth of mold and mildew. Taking time to seal your grout now can help preserve the beauty of your project and make cleanup and maintenance much easier in the long run.
Does Your Grout Need Sealant?
Not all grout is created equal. Most traditional grout is a mixture of water, cement, sand, and optional coloring or dye. These grouts based on natural materials are porous, which is what makes them susceptible to stains and damage caused by water, liquids, dirt, mold, and even bacteria.
There are some grouts that are epoxy-based though. These grouts are non-porous, easily cleaned and stain-resistant, so they do not need to be sealed by an additional grout sealant. However, they can also look “plastic” or artificial, are more expensive to install, and can often cause grout haze - a cloudy appearance on your tiles. This explains why cement-based grouts remain the most popular choice for homeowners.
Make sure to check what type of grout you have before planning to seal your grout.
Step 1: Choose the Right Grout Sealant
Once you’re sure that you need to seal your grout, you’ll need to pick the right sealant for the job.
Non-Penetrating Grout Sealer
Non-penetrating grout sealants provide an easy-to-apply layer of basic protection (or a surface coating) from moderate moisture and dirt. You’ll need to reapply every 1-2 years. Also be aware that non-penetrating sealants have trouble adhering to glazed tiles, so you’re better off choosing this option for low-traffic, low moisture areas that feature natural or unfinished tiles.
Penetrating Grout Sealer
If you’re looking for deeper, longer lasting protection against stains and mold, you should consider a penetrating grout sealer, or impregnator. This type of sealant seeps into the porous holes of the grout delivering extra protection that can last 3-5 years.
You’ll want to look at a few things when considering a penetrating grout sealant:
- Be sure the specific grout sealant you choose works with your tile material. Remember to check the labeling. Some sealants are made with caustic chemicals that can damage certain tile surfaces.
- Do you want to add color or tinting to your grout? Penetrating grout sealers are available in colors as well as colorless options.
- How’s your ventilation? Many penetrating grout sealers are solvent-based and can contain toxic chemicals that need to be handled carefully with gloves and safety masks. Instead, look for water-based sealants with low VOC (Volatile Organic Compound) levels.
- Is application easy? Check out the instructions on the sealant you’re considering. Does it look like you’ll need complicated equipment? Will it take forever to dry?
Keep in mind the size of your tiles relative to your project area. For instance, if you have tiny mosaic tiles spread over your entire bathroom, it will take forever to seal your grout using a sealant that comes with a roll-on applicator tip. Instead, your best bet for ease would be a spray-on grout sealer. If you’re hoping to seal the grout in your small foyer with large-format tiles, both a roll-on and spray-on sealant would work well.
Step 2: Prep and Clean
Whether your tile is indoor or out, you’ll need to make sure your grout is as clean as possible to avoid locking in dirt, moisture or stains.
If your tile project is brand new, be sure your grout is completely dry and cured before sealing. If you have any grout haze, you'll need a specialty cleaner to remove the haze, as grout cleaners aren't designed for grout haze removal.
Consider the type of tile you have to make sure you select a grout and tile cleaner that is not going to harm the tile. Some grout cleaners are very abrasive and not recommended for more sensitive tiles, like marble or other speciality tiles. Below is a video on some of the popular grout cleaners available.
Once you've thoroughly removed all dirt, grime and mildew from the surface, you'll want to be sure the grout is completely dry. Then prep is as easy as a thorough wipedown and drying of the area, including the tiles and surrounding area to make sure your sealer doesn’t get diluted by water.
If you’re sealing or re-sealing your grout, you want to start with a deep clean. Check out our Spring Cleaning Your Hardscapes blog article for great step-by-step tips to clean your outdoor tile and grout.
If your grout is older, be sure to check for and repair any cracks, holes or damaged seams (areas where the grout might be separated from the tile). You want to avoid sealing in moisture, dirt or mold.
Step 3: Apply Grout Sealer
How you apply your grout sealer is going to depend on the sealer you choose for the job. Always read the instructions and watch application videos if they are available for the sealant.
Here are some things to consider:
-
Always test a small area before tackling your full project
-
If you are using a roll-on or brush-on applicator, it can be easy to miss spots in your grout because of uneven application. Be sure to keep an eye out for dry spots, and go back to reapply as needed. Typically, you’ll need to be careful not to get these grout sealants on your tile (both glazed and unglazed) because they can darken or alter the color.
-
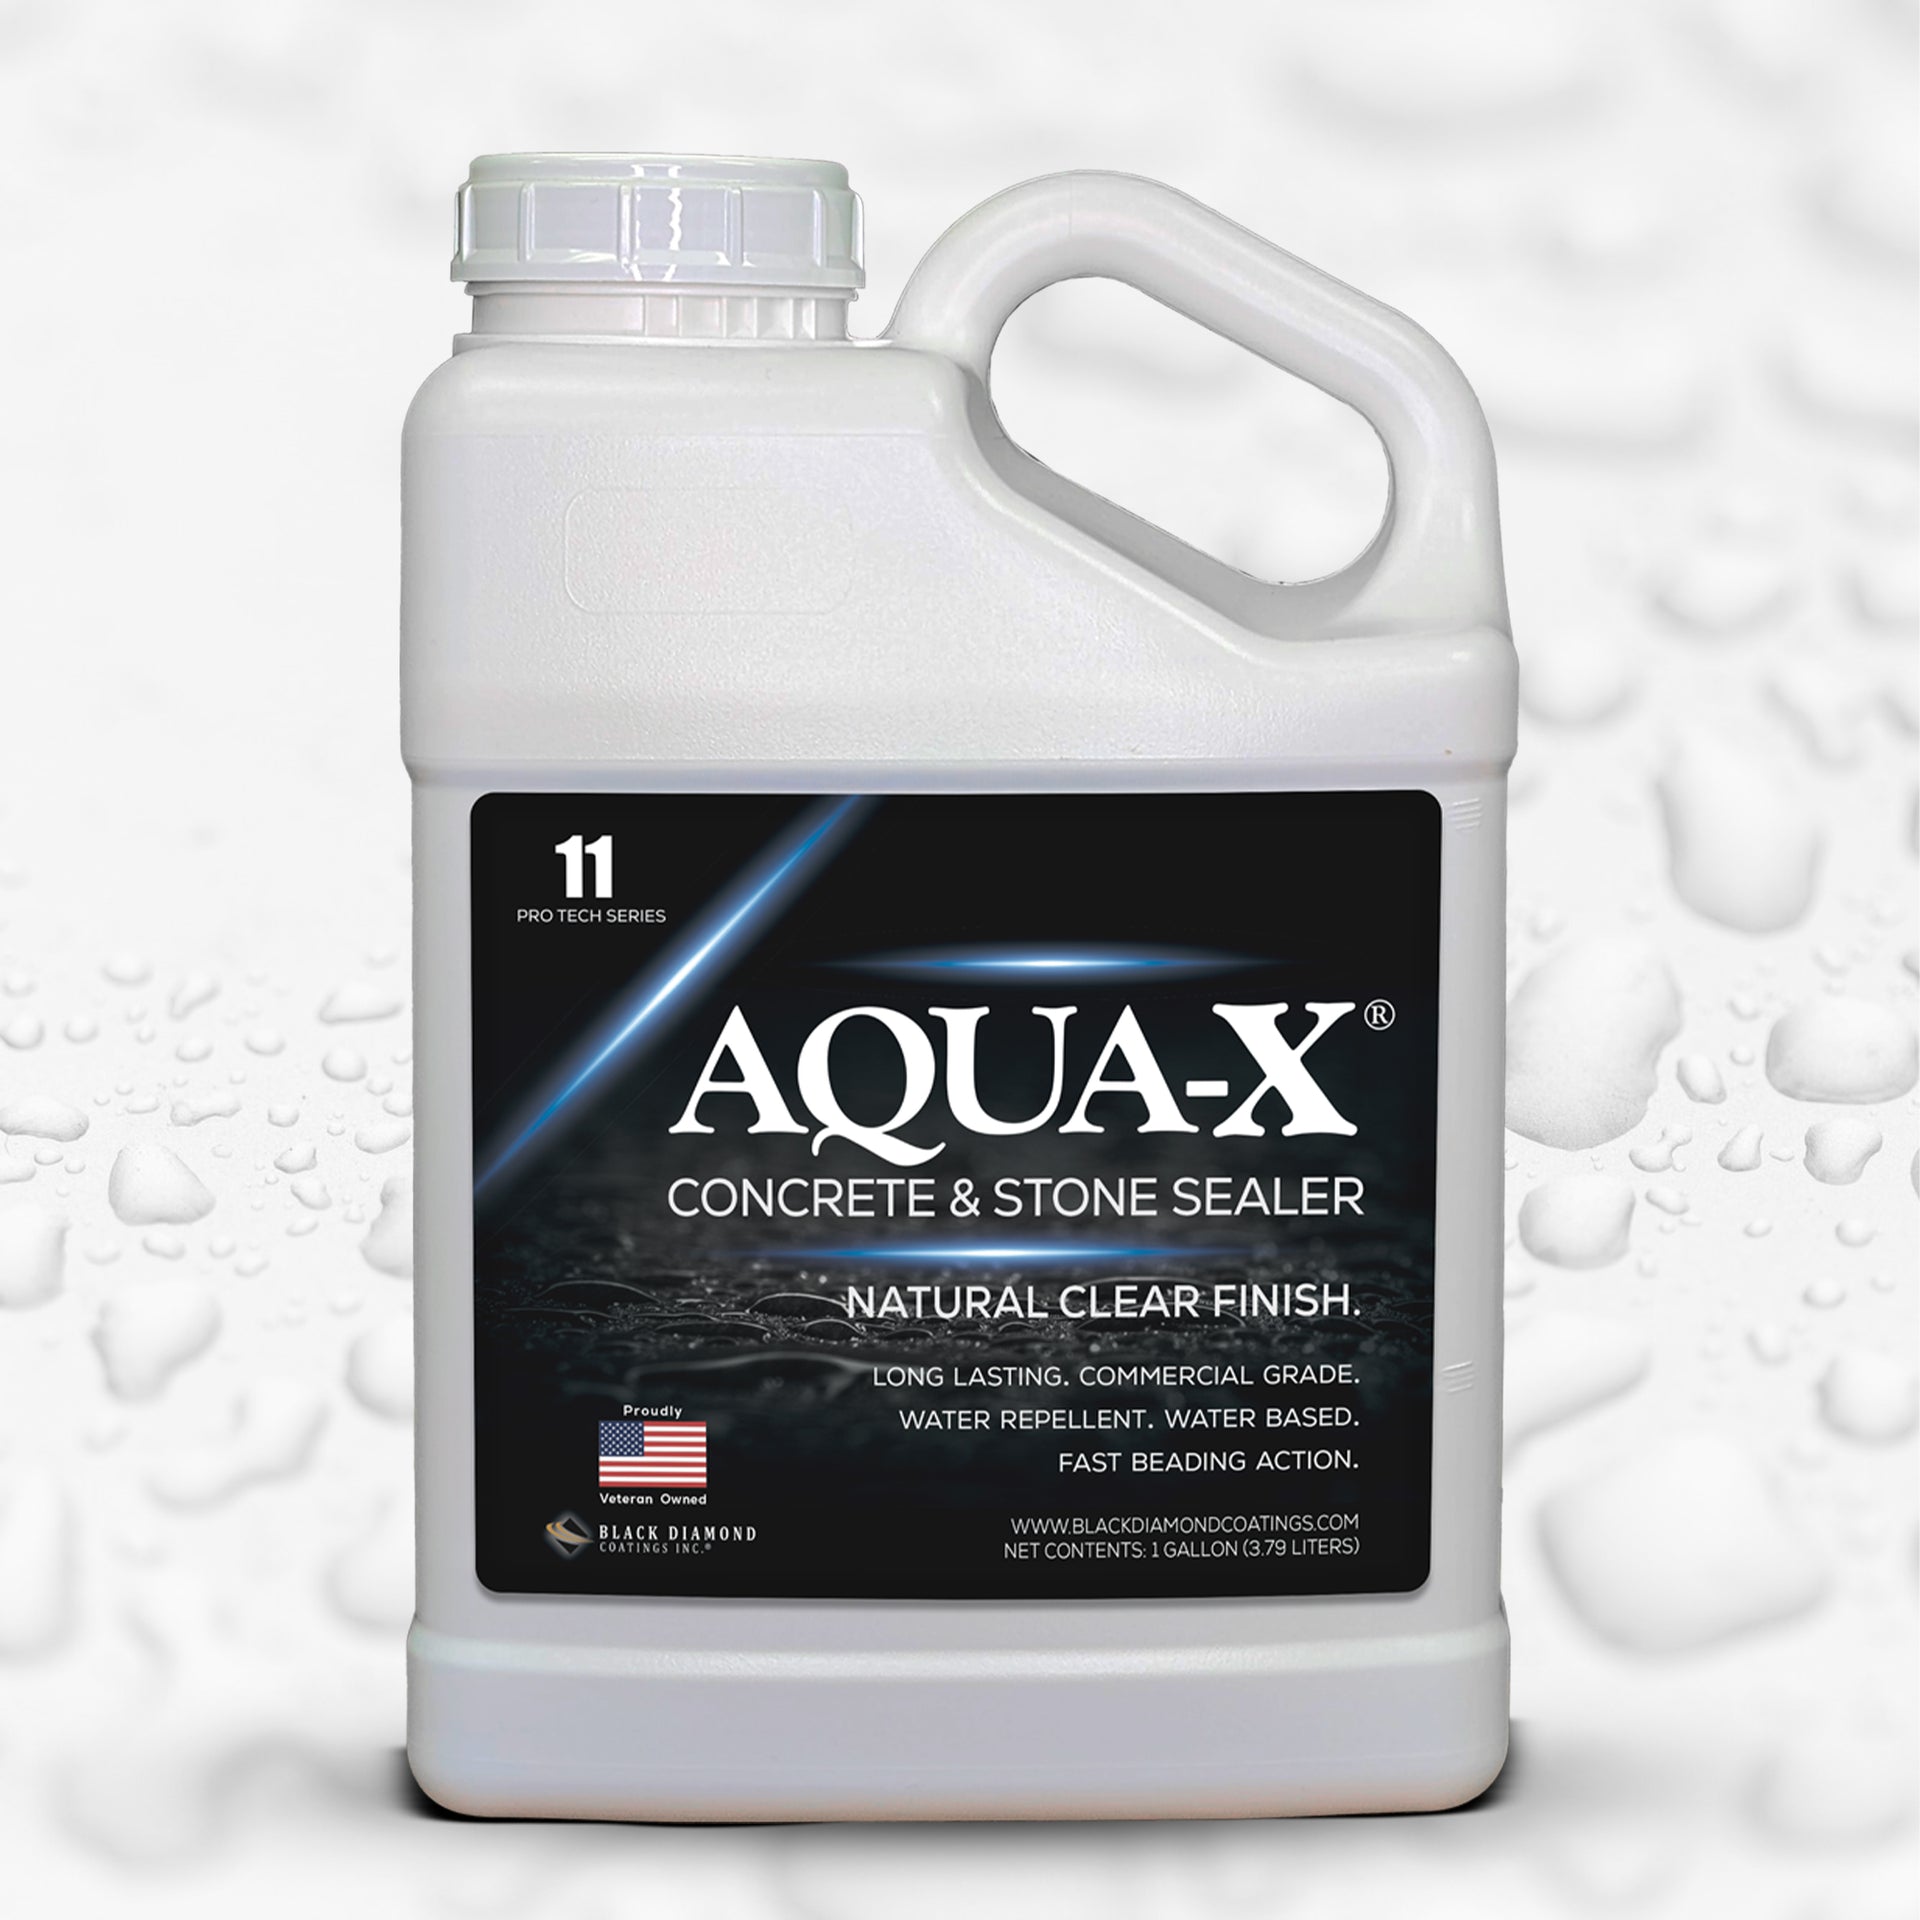
Spray-on application can be much faster and easier. Be sure to check your specific grout sealer to see if it can be used safely on unglazed tile. Some spray-on sealants, like AQUA-X penetrating grout sealer, can also be used to seal your unglazed tiles without altering the color. Check with the sealant’s labeling to find out whether you can also use the sealant of your choice on natural, unglazed stone without darkening the color.
- In all cases, be sure not to flood the grout with too thick a layer. Even though some grout sealers might require more than one coat, a too-thick coat can result in discoloration, difficulty drying completely, and uneven long-term protection.
Check out this AQUA-X application video to see how easy spray-on application can be.
Step 4: Let Dry!
Maintaining the correct temperature range specified by the manufacturer during application and drying is important, in order to avoid cloudiness and discoloration. Be sure to let your grout sealer dry thoroughly before testing a small area with a few drops of water. If the water beads up, you’re all set! If not, you’ll need to apply an additional coat of sealer to your grout. Most grout sealers take 1-3 coats for best results.
Check the labeling on your sealant to discover the typical coverage for the product (recommending 1 coat versus recommending 3 for instance), and then factor that into your budgeting. You should know that how porous your tile is can also affect how many coats and how much product you’ll need. For instance, if you’re applying AQUA-X Grout Sealer on the grout and unfinished tile of your bathroom shower, you’ll need more sealer than if you were tackling the same project using glazed tiles. Check with the manufacturer for specific instructions and recommendations.
Let the entire space dry completely before letting the grout get wet. Check carefully for the manufacturer’s recommended dry time. While some grout sealers like Aqua-X only take a couple of hours to dry, some recommend 24-48 hours to dry.
Hopefully you now feel confident that you know how to seal grout. But if you’re still not sure which grout sealer to use, or if you need more specific advice for your tiles, feel free to contact the Black Diamond Coatings team. We’d be happy to chat about your next project!

